


Earlier we have an article for, “How to install kali linux in android”.
Today I will show you, how you can install Kali Nethunter in Android.
For installing Nethunter, your device must be rooted.
Here is complete guide to,
1.Root Device
2.Then install BusyBox from play store.
3.Next step is to download and
Install Nethunter file zip.
4.You can download it from here.
See the image below :
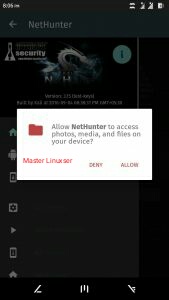
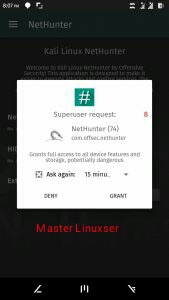
5.Allow to access the files and then give the SuperSu permission by clicking on Grant permission.
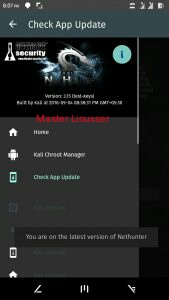
6.Now it will automatically detect your device build.

7.Here now, the important step is to check for the app update. Always use the latest version.
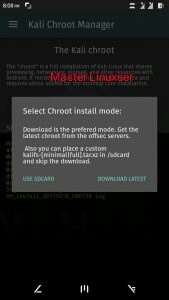
8.Now go to Kali Chroot Manager and click on install Kali Chroot
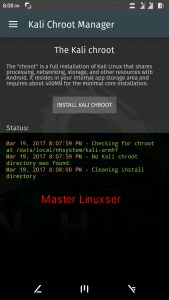
9.Now choose download latest option.
Also “Use sdcard” option can be used if you have already downloaded the Kali Chroot and it is stored in the sd card.
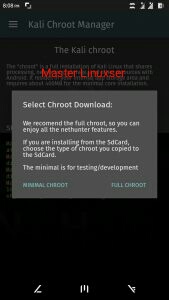
10.Now select minimal Chroot if your device is of lower version. Also you can choose Full chroot if your device is of higher version.
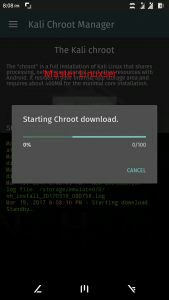
11.Wait till the process ends and the chroot will automatically get downloaded.
12.Now you are all set to use Nethunter.
13.You will now require a terminal to run commands for nethunter. You can download it from here Click here to download it.
14.Now open the terminal it should be like this:

- 15.Also many other Nethunter ancillaries apps are there. Some of them are :
Thank You for reading this tutorial kali nethunter!
If you liked it, do comment your feedback below.
It values a lot for us! :)